
Synology NAS Setup: DSM & Synology Assistant
Welcome to the most used data storage device setup and troubleshooting guide. Here, you will get fast help to connect your new Synology NAS with the help of the Synology assistant.
The guide is easy to understand, if you are finding any difficulty from this, you can reach us directly and let our experts help you in minutes.
Now, let’s dive into this Synology NAS setup & feature guide.
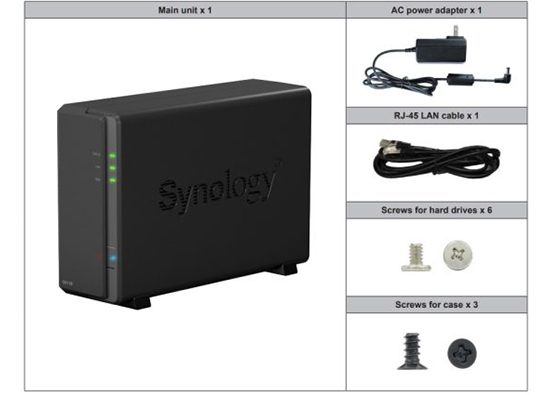
Synology NAS Content Package
In the Synology NAS content box you will find the basic tools listed below:
- Drives
- Ethernet cable
- Screws and bolts
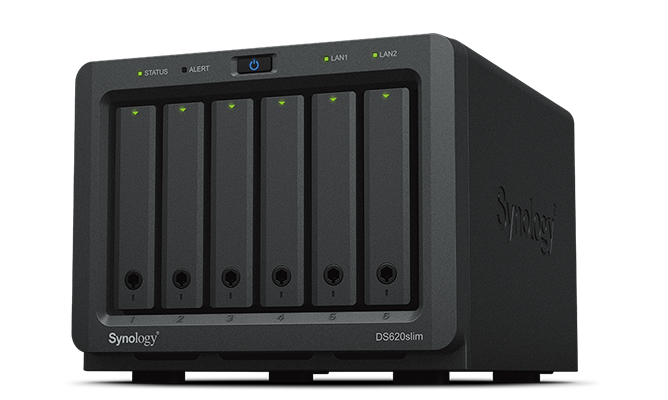
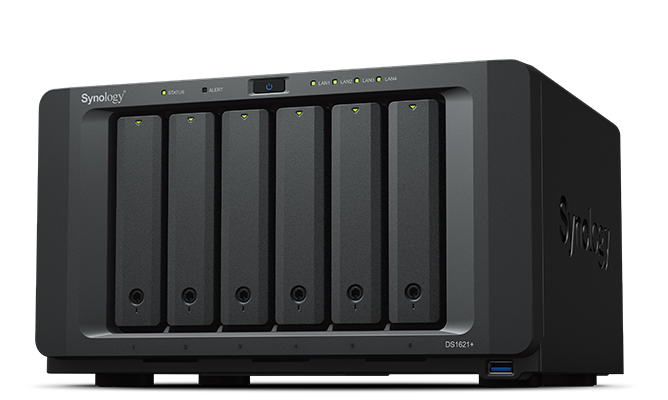
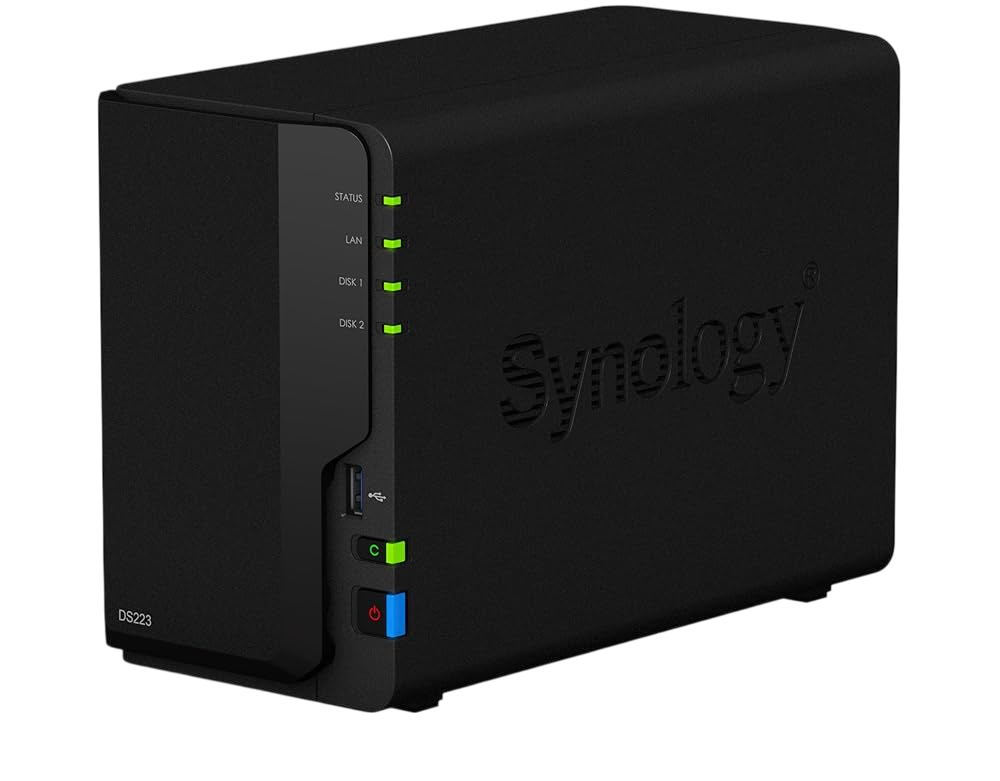
- Synology box parts
- And A user manual
- The main NAS unit
- A power cord
With the help of these parts and cables you will be able to join them with your router network and computer’s memory. So let’s join all parts together and connect it.
Synology NAS Setup
At first you need to take out everything from the Synology NAS box, and place it near the router. Follow these simple instructions to join the NAS together.
- Use the nut and bolts to join the box parts with the main Synology unit like Drive trays.
- You will get a Drive tray key which you can use to open and close the trays inside the NAS box.
- Now, place the Drives inside the Drive trays and lock them with the help of the key.
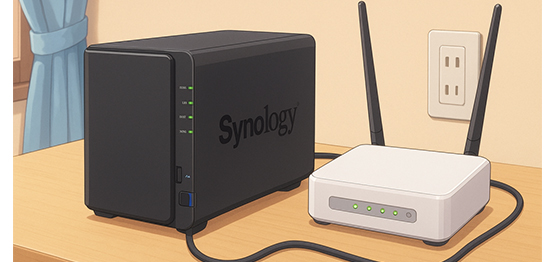
The Synology NAS box has been constructed, now it is time to connect it with the router first and then link it with the computer.
Connection with the Router
You have to use the Ethernet cable to link the router and NAS. Simply, plug the cable one end to the NAS Ethernet port and other end to the router’s LAN port. Then you should power the Synology management device by plugging its power adapter to the power outlet. Then, you should use find.synology.com to connect it with the computer.
Connection with the Computer
Follow some of the simple and easy steps to link up your management device and computer:
- Connect your computer with the same router network which is connected with the Synology NAS.
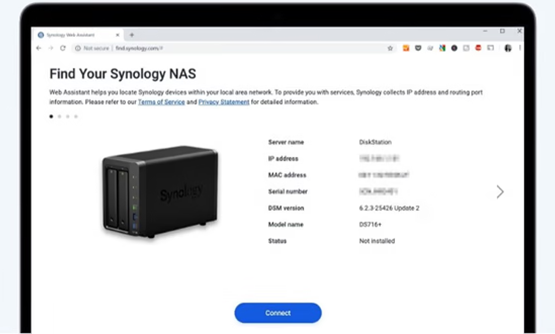
- Then, open the web browser, enter the find.synology.com. The Find Synology NAS window will open.
- Here, you will see the status like “Your NAS not installed”.
- Now, select the Synology NAS and find the Connect button on the Web Assistant, click it.
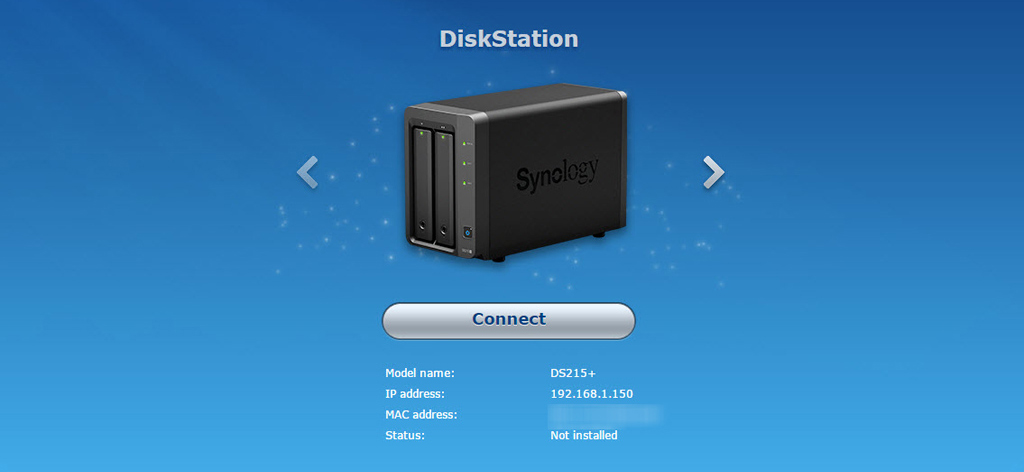
- On the next page you will see the details of the Diskstation manager which you should install.


Find Synology NAS Assistant
Download Synology DSM
- Go to the Download Center of Synology on the web and Select your NAS model. Pick the OS version (DSM 7.2, 7.1, or 6.2 if you’re into retro stuff). Click on it.
- You’ll usually see a .pat file. That’s the firmware. That’s what you’ll need if you’re doing a manual install or reinstall.
- Save the .pat file. Once you download it, don’t rename it. Keep the original filename intact. You’ll need this .pat file when you’re:
- Setting up your NAS for the first time (via find.synology.com). Recovering a soft-bricked unit. Downgrading or doing a clean install with Synology Assistant
- This file can range from 200MB to 400MB-ish. Let it download fully.
If you’re setting up a fresh NAS, plug it into the LAN, go to: find.synology.com. The web-based wizard will auto-detect your device. Click Set up → then hit the Manual Install option and upload the .pat file you just downloaded. Done.
Features of Synology Assistant
1. Finds Your NAS When It’s not found anywhere
Synology Assistant? scans your LAN and shows all the NAS units there in the assistant. It saves you from digging through DHCP logs or hunting MAC addresses. So it’s a massive time saver.
2. Shows You All the Details You Forgot to Write
IP address, MAC, status, model, firmware version—everything. All in one screen. Its’s Handy when you’re connected with multiple devices and can’t remember which box is doing what. Or worse, when something’s not working and you just need an IP to SSH into.
3. Lets You Map Drives Without Windows
Users hate manually mapping network drives through Windows Explorer. With Synology Assistant click or map, and it’s done. If you’re setting things up for a non-tech person, this makes way easier.
4. Wakes up Your NAS
If your NAS supports Wake-on-LAN and it’s powered off (but still plugged in), Synology Assistant can wake that up. Great if you’re the type who shuts down hardware when not in use, or if your NAS randomly crashes and you’re remote. Click “Wake up,” wait a sec, done.
5. Helps With Initial Setup When You’re Lost
You can use this for fresh installs all the time. Plug in a new NAS, fire up Synology Assistant, and it’ll guide you through installing DSM. Way smoother than messing with browser-based setup screens that don’t load properly half the time.
6. Troubleshooting Made Slightly Less Painful
It’ll show you if the NAS is “Not Installed,” “Configuration Error,” “Not Responding,” or just offline. Way faster than guessing. Sometimes, just being able to see that status tells you where to look next.
Few Important Questions
How to specify The Synology Quickconnect ID?
- Log into DSM. Open up your browser and search your NAS IP. Enter your admin creds and you’re in DSM (DiskStation Manager).
- Top left corner, click that little start menu thing, and open the Control Panel. Click on “QuickConnect”, enable it. Set your QuickConnect ID. type in the actual ID you want.
- The system will check if the name is available. Then, click Apply and let the NAS do its thing for a few seconds.
How to configure Storage Space in DSM?
- Log into your DSM web interface. Go to the Storage Pool tab. Click Create. Select Custom. Choose your RAID type.
- DSM will recommend something based on how many drives you have. Select the drives you want in the pool.
- Accept the warning that says “all data will be wiped”. Let it initialize. This might take a while, especially if you’re not using SSDs.
- Head to the Volume tab. Click Create. Choose the Storage Pool you just made.
- Select Btrfs or EXT4 as your file system. If you don’t know what that means, just go with Btrfs.
- Set your volume size — or just use the full capacity. Click Next, then Apply, and that’s it.
How to manage your files with Synology File Station?
- File Station is basically the Synology version of File Explorer or Finder, but for your NAS. You can browse folders, upload/download files, drag-drop stuff, rename things, unzip, copy, paste
- You’ll see the default folders: home, music, video, photo, maybe a web folder too. Synology creates some of these for specific apps. You can make your own too — just right-click in the left pane and hit “Create” > “Folder”.
- Drag files straight from your PC into File Station in your browser. Right-click the folder > “Properties” > “Permission”. You’ll see user access settings. Set read/write or read-only per user or group.
How to download and install Add-on Packages?
A. Download the add-on manually
Go to the developer’s official site or GitHub. Get the actual install file — not some shady site offering it with “free antivirus bundled.” You know what I mean.
B. Open your app’s manual install tool
Synology: Package Center → Manual Install (top-right corner)
How to Fortify Synology Security of your DSM?
- Update DSM
- Change That Default Port.
- Disable Firewall
- Remote Access = VPN Only
- Account Management
- Auto Block — Turn That On