
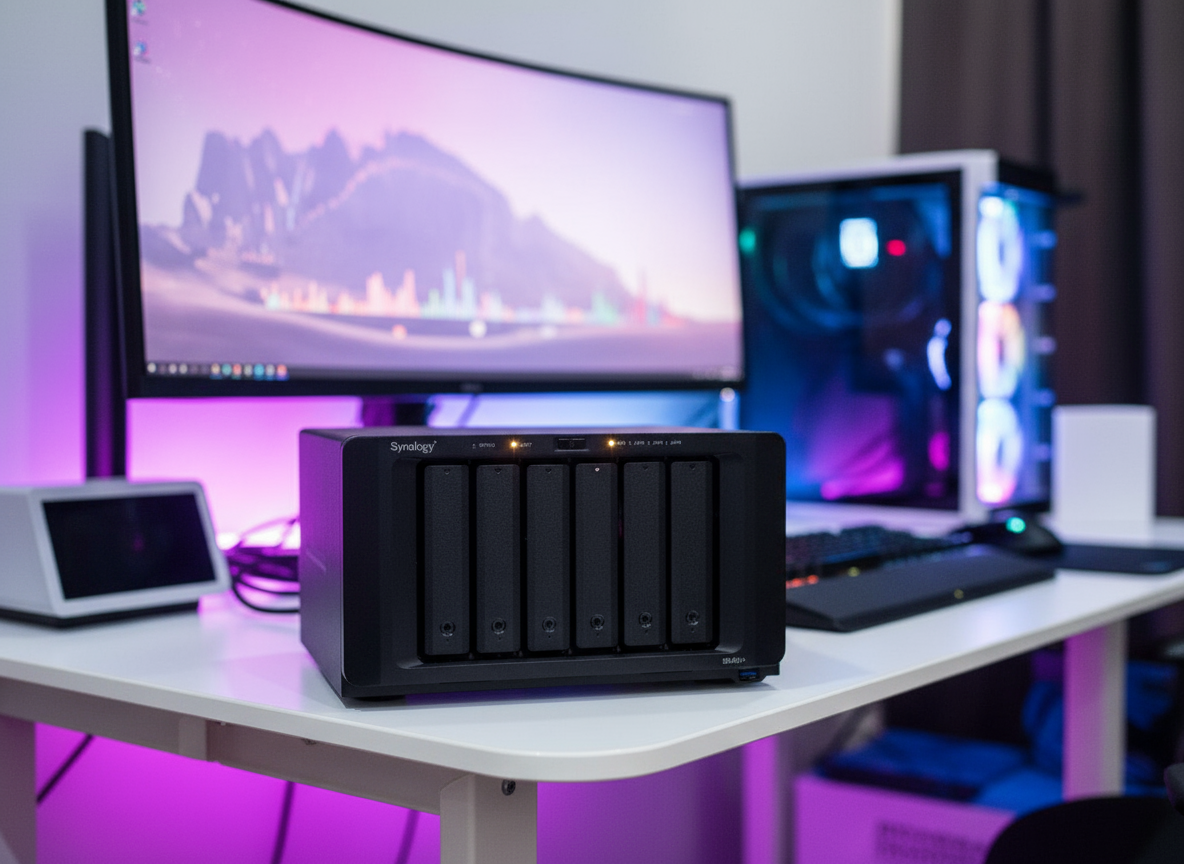
Synology DS1621+ Setup
Synology is known for the Storage management devices. The NAS is the best device in the store. One of the models is DS1621+ NAS. here you will get to know about how to complete the Synology DS1621+ setup. It also includes the DSM installation through Synology Assistant, QuickConnect setup, & troubleshooting tips. Now, let’s dive into the installation steps.
Synology DS1621+ Setup (NAS)
Remove the NAS, drive trays, cables, and documentation from the box. Make sure all accessories are included: power cord, LAN cables, drive tray keys, quick guide.
Physical Setup
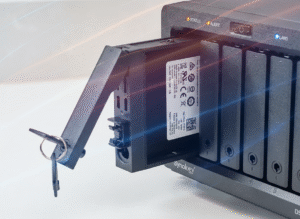
- Slide out each drive tray from the front. Remove the plastic side panels. Place the 3.5″ drive into the tray. Reattach the panels to lock the drive.
- For 2.5″ drives, screw them into the tray using the supplied screws. Slide trays back in until they click.
- Plug power adapter and LAN cable into the NAS. Connect the other end of the LAN cable to your router or switch. Turn on the NAS using the front power button.
Computer Connection and DSM Installation
- On your PC, ensure it’s on the same network as the NAS.
- In your web browser, type either find.synology.com or synologynas:5000.
- The browser opens Synology Web Assistant and should find your NAS as “Not Installed.”
- Click to connect and follow on-screen instructions.

DSM Installation
- Let the setup wizard install the latest DSM operating system automatically over the internet.
- If prompted, create an admin account and password.
- Name your NAS and choose updates settings.
- Go to Storage Manager in DSM after login.
- Click “Create Storage Pool.” Choose RAID type (for most, Synology Hybrid RAID is easy and flexible).
- Select all drives to join the pool.
- Create a volume on the new storage pool. Use Btrfs for best features like snapshots.
Create Shared Folders
- Open Control Panel > Shared Folder.
- Set names and permissions for each share (example: “Backups,” “Media,” “Docs”).
- Map network drives on your computers for quick access.
Add Users
- Set up individual user accounts for each person or device.
- Assign folder and file permissions to control access.
Additional Setup
- Update DSM and packages to latest versions.
- Turn on firewall in Control Panel > Security.
- Enable QuickConnect for remote access if desired.
- Set up backup jobs and install apps from the Package Center as needed.
QuickConnect Installation
- Log into DSM as admin.
- Go to the Control Panel. Look for QuickConnect under Connectivity or External Access (location depends on DSM version).
- Check the box: Enable QuickConnect. If prompted, sign into your Synology Account, or create one free.
- Enter a QuickConnect ID. Pick something short, memorable, and unique—this is how you’ll reach your NAS from the web.
- Hit Apply to save your settings.
Troubleshooting tips: Synology DS1621+ Setup
Power and Connections
Ensure the NAS is plugged in and powered on. The Power LED should light up steadily. Connect the NAS to your router or switch with a good quality Cat 5e or higher Ethernet cable. Avoid loose or damaged cables.
Installing Drives Properly
Use compatible 3.5″ or 2.5″ SATA drives. Insert drives fully into trays until they click. Lock trays if available. Drive status LEDs should light up when powered. If drives don’t show up, power off NAS, re-seat them firmly, then power on.
Network Detection Issue
On your PC, open a browser to either find.synology.com or synologynas:5000. Both NAS and PC must be on the same local network to be discovered. If NAS isn’t found, reboot router, NAS, and PC. Disable VPN or firewall temporarily on the PC that might block local network discovery.
DSM Installation Stuck or Failed
Ensure NAS has internet access. Web Assistant downloads the newest DSM version. Use recommended browsers like Chrome or Firefox. If installation was interrupted, login to DSM with username admin and no password to resume.
Drive and RAID Troubleshooting
- Run the built-in S.M.A.R.T. test on installed drives via DSM Storage Manager to check health.
- Reinsert drives if they fail detection or if you hear unusual noises.
- Review RAID type: If you want to start without RAID, create a Basic volume first, then add drives progressively.
- To change RAID later (e.g., to SHR or RAID5), use Synology’s Storage Pool management to expand or migrate without data loss.
LED Indicators Meaning
- Power LED blinking: Power off then on again; if persists, hardware issue may exist.
- Status LED flashing orange: Usually indicates a system warning like a degraded RAID or overheating. Check DSM notifications.
- Drive LEDs off: Drive not detected/reachable; re-seat or replace drive.
- Refer to your DS1621+ hardware manual for full LED guide.
Reset and Network Reset
Use the RESET button behind the NAS: Press once (hold until beep) to reset admin password and network IP settings to default. Press twice (longer hold) to reset DSM and reinstall the system if needed, but this will erase configurations.
Now, the Synology DS1621+ setup and troubleshooting tips are ended here. But if you are struggling with anything you can register your issue here we will solve it soon enough.