
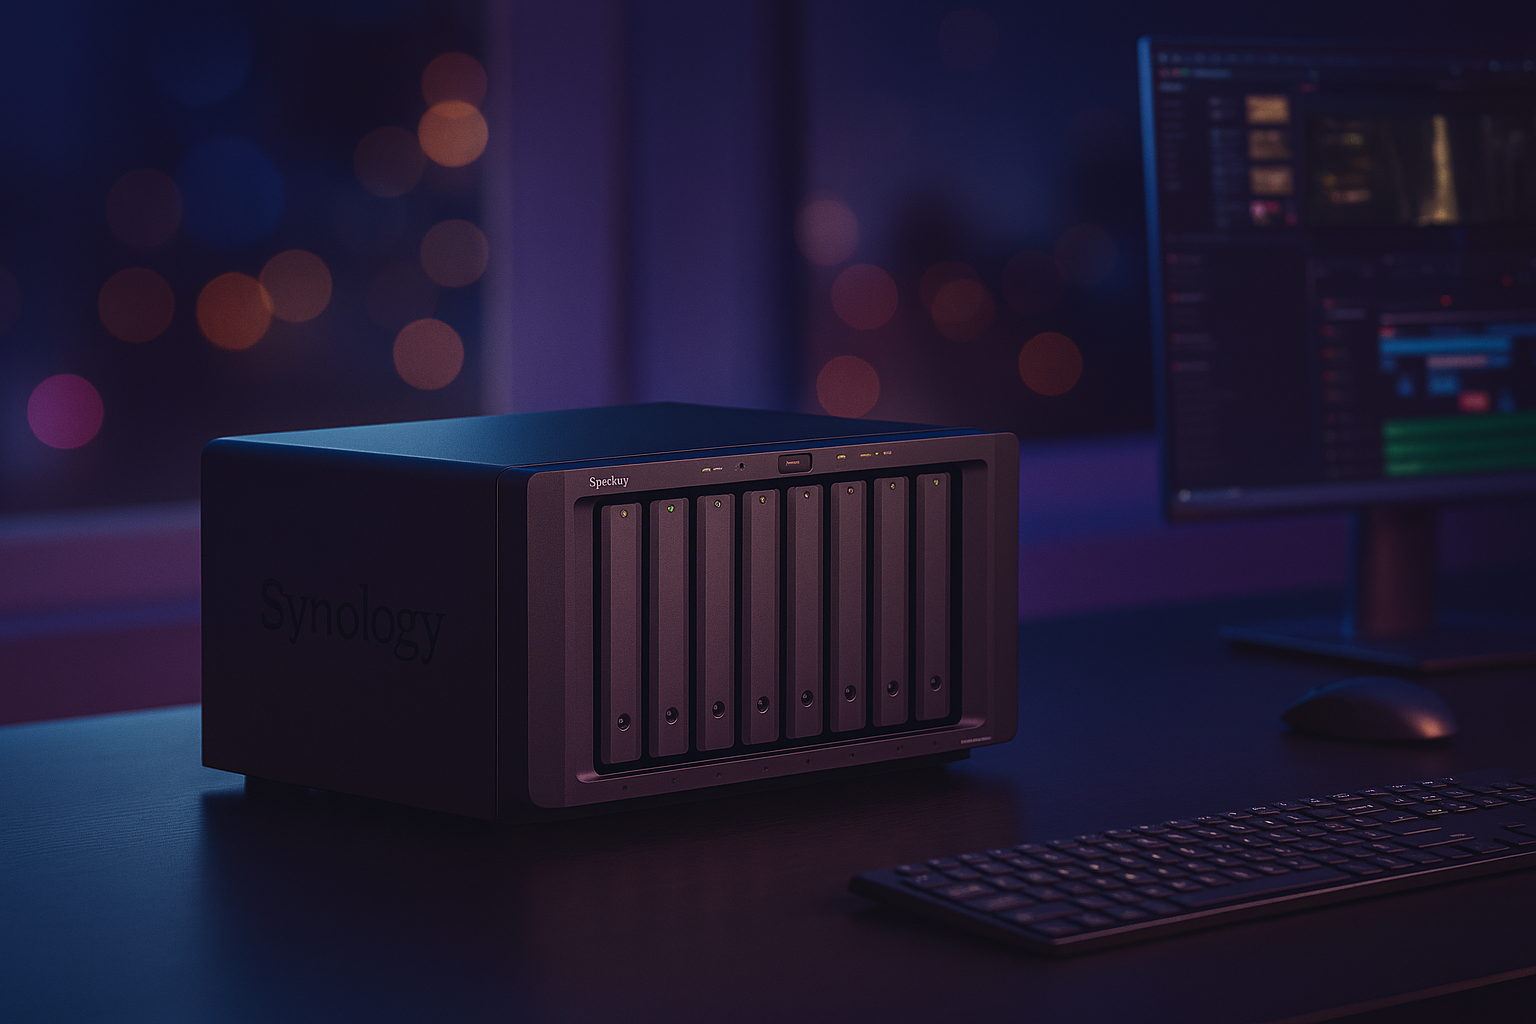
Synology DS1823xs+ Setup
As you know Synology is a big networking and storage management brand that distributes routers, NAS, and much more cloud services. One of the models of NAS is Synology DS1823xs+ NAS. Here we will only discuss the Synology DS1823xs+ setup. We describe how to install it, how to install DSM, and how to troubleshoot the obvious problems.
Unbox The Synology DS1823xs+ Setup
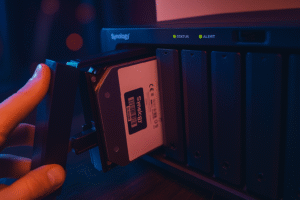
Take everything out — NAS, power cable, Ethernet cords, screws, trays. Check for dents or loose bits.
Slide out the drive trays. No tools needed unless you’re still rocking older-style drives. Pop in your hard drives — make sure they click in snugly. If you’re using SSDs for cache, keep them aside for now. Don’t install them yet.
Once drives are in, plug the NAS into power and your router using at least one Ethernet cable. Dual LAN ports? You can link them later. For now, just get it online.
Power DS1823xs+ Up
- Hit that power button. Wait. You’ll hear a soft beep — that’s good. Give it a minute or two.
- Now, head to your PC. Open your browser and type: find.synology.com
- Or download the Synology Assistant software if that site doesn’t detect it.
- You should see your NAS pop up with a name like “DS1823xs+ (Not Installed).
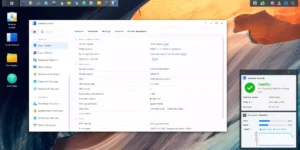
Install DSM (DiskStation Manager)
- Click Connect. It’ll take you into the setup screen. Synology will ask if you want to install the latest DSM automatically. Just do it — saves time.
- If it fails to download, grab the .pat file manually from Synology’s site. Choose Manual Install, browse to that file, and hit Install Now.
- It’ll warn you that all drives will be formatted. That’s normal — click OK. It takes about 10–15 minutes.
Create your Admin Account
- Once DSM boots up, you’ll see the welcome wizard. Set your server name (something simple like “HomeNAS” or “BackupVault”).
- Create your admin username and password — don’t skip the 2FA setup later.
- When it asks about QuickConnect, you can set it up now if you want remote access, or skip it if you prefer local-only access.
Set up Your Storage Pool
- Open Storage Manager → Storage Pool → Create.
- Pick Custom setup if you want control, or Quick if you’re lazy and fine with Synology Hybrid RAID (SHR). If you’ve got mixed drive sizes, SHR is your friend.
- Otherwise, go with RAID 5 or RAID 6 depending on how paranoid you are about drive failures.
- Once the pool is created, DSM will automatically start checking parity. You can still use it while it’s running — it just might be a bit slow for a day or two.
Create Volumes and Shared Folders
After the pool is done, head to Storage Manager → Volume → Create. Pick your pool and format it (Btrfs recommended).Now make some shared folders: Media, Backups, Documents, whatever you want. Tick “Enable Recycle Bin”, you’ll thank yourself when you delete something by accident.
Set Up User Access and Permissions
Go to Control Panel → User & Group. Create accounts for everyone who’ll use it.
If it’s just you, skip ahead. Assign permissions per shared folder — don’t leave everything wide open.
Install Essential Packages
Open Package Center.
Grab:
- File Station (usually preinstalled)
- Synology Drive Server (for file syncing)
- Hyper Backup (for backups)
- Active Insight (for monitoring if you’re remote often)
- Synology QuickConnect
Optional but nice:
- Media Server or Plex for streaming
- Docker if you’re running containers
Update Everything
Go to Control Panel → Update & Restore. Install the latest DSM updates and reboot. Then update all packages in Package Center. It’s boring but important — early bugs can cause weird connection issues.
Tune the Network
Head into Control Panel → Network → Network Interface. If you’ve got two Ethernet cables plugged in, set up Link Aggregation (LACP) for faster transfer speeds (depends if your switch supports it). Also, reserve the NAS’s IP in your router — avoids headaches when your DHCP assigns a new one later.
Troubleshooting tips: Synology DS1823xs+ Setup
When it won’t show up on your network
First off, if your NAS isn’t showing up in Synology Assistant or DSM, don’t panic. 90% of the time it’s network-related.
- Check your Ethernet cable. Seriously. Try swapping it out — I’ve seen “brand new” cables that were dead.
- Plug it straight into your router instead of a switch, just to rule that out.
- Then check your router’s DHCP list — see if it’s getting an IP at all. If not, plug in a monitor via the VGA or use Synology’s “find.synology.com” in a browser. Sometimes it’ll pop right up there.
If nothing shows? Hard reset the network settings on the NAS (hold the reset button for about 4 seconds till you hear a beep). That usually kicks it back into life.
DSM install keeps failing or freezing
If DSM (the DiskStation Manager) refuses to install or keeps hanging halfway, it’s usually something with your drives.
- Pull all drives out, boot the NAS with none installed. Wait till you hear the beep.
- Then shut it down, reinsert one drive, and try again.
If that works, one of the drives might be faulty or formatted weird. You can test them using Synology’s Storage Manager later.
Also, use Synology’s web assistant (find.synology.com) instead of the desktop app.
Can’t connect via browser after install
Sometimes DSM installs fine, but you can’t reach it through your browser.
- Try the IP directly, like http://192.168.x.x:5000.
- If that fails, check your firewall or antivirus. They love blocking Synology connections for no reason.
- You can also try a different browser — Chrome and Edge are usually fine. Safari… not so much.
If you still can’t get in, reboot both the NAS and your router. Don’t skip that — I’ve fixed so many connection issues just by restarting everything.
RAID setup confusion
Synology’s storage setup can be confusing if you’re not used to SHR (Synology Hybrid RAID). The trick is: don’t overthink it.
If you’ve got drives of different sizes, SHR is your friend — it uses the space efficiently.
If all drives are identical and you want max performance, go RAID 5 or RAID 6.
The setup wizard explains it, but half the time people click through too fast (me included). Just take a sec and actually read what it says before you confirm.
No internet or update issues
DSM updates failing? Can’t connect to Synology servers? That’s almost always DNS or gateway settings.
Go into Control Panel > Network > General, and manually set Google’s DNS (8.8.8.8, 8.8.4.4).
If you’re on a static IP, double-check that your gateway is set correctly — if not, DSM won’t be able to reach the internet even if your LAN is fine.
Worst case, tether your laptop to your phone hotspot and connect the NAS through that temporarily.
Fans or drives making weird noises
Yeah, the DS1823xs+ is a beast — it’s not silent. But if the fans are screaming at full speed all the time, go into Control Panel > Hardware & Power > Fan Speed Mode and switch it to “Cool Mode” or “Quiet Mode.”
If you hear constant drive clicking or grinding, that’s a red flag. Stop and check SMART info in Storage Manager. Drives failing during setup isn’t rare, especially if you reused old ones.
The “nothing’s working” fallback
If you’ve tried all the above and it still acts up — nuke it and start clean.
Press and hold the reset button for 4 seconds to reset network, or 10 seconds to reset everything. Then use Synology Assistant or find.synology.com again and reinstall DSM from scratch.
Hope, you have now connected your computer with the Synology DS1823xs setup with the help of above given steps and troubleshooting tips. Even after that, if you are having any issue you can register it through our issue form.